
Today I am departing from the more familiar topic of Zentangles – although they are wonderful – to Photography.
I have mentioned elsewhere on the blog that I have been learning how to use Adobe Photoshop and Lightroom (Creative Cloud). My personal objective has been to learn how to edit photos to bring out the best in them (without looking “Photoshopped,” or artificial), as well as to be able to restore old or damaged photos. I have a ton of old photos and slides that I inherited from my parents — not to mention that I have many of my own older photos that need some work. My goal is to digitize, repair/fix, and to be able to share these photographs with family and friends.
My post today is intended to provide readers with an idea of what you can do in Lightroom. I am by no means an expert, but I have learned a lot and can edit my photos to make them look better than they did straight out of the camera (SOOC). (I understand that Adobe CC is a bit pricey, and want to point out that there are other image editing options out there. At some point I will post some alternatives that may be more budget-friendly).
Below are several examples of “clean edits” to my photos made in Lightroom. These edits improved the overall appearance of the images. I should also note that in addition to manual adjustments, in some cases I used purchased presets from Pretty Presets. I really like the quality of their presets and they help speed up my workflow. The images below are pictures that I took in Disney World while on vacation in May 2015.
Before/After examples of Editing in Lightroom
1. Example: Too Dark, Subject Is At An Angle
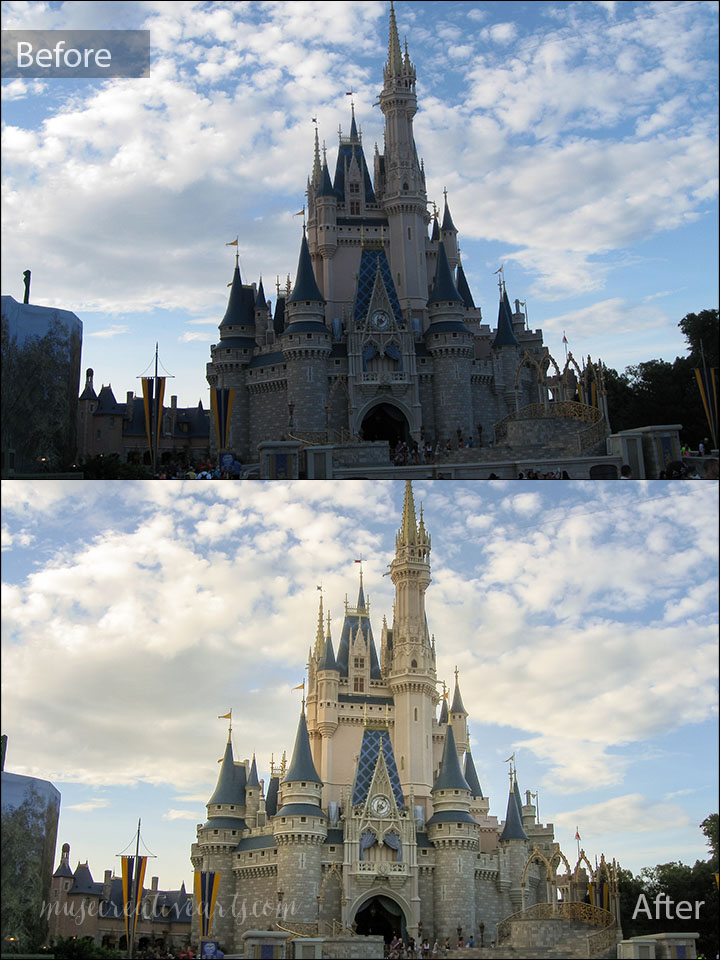
Here is a photograph that I took of Cinderella Castle. Clearly the photo needed to be straightened. The picture was taken late in the day and the castle was too dark.
Edits made in Lightroom:
- Straightened the image so that the castle appears horizontal.
- White balance correction
- Increased contrast
- Warmed up tones in the center (i.e., increased warm tones over the castle)
- Added blue and green color pop (to bring out the blue turrets)
- Lightened the shadows
Much better, isn’t it? Same image, but the castle is not at such a weird angle and is now much brighter and more vivid.
2. Example: Overexposed; Ariel’s Face is in Shadow; Too Light
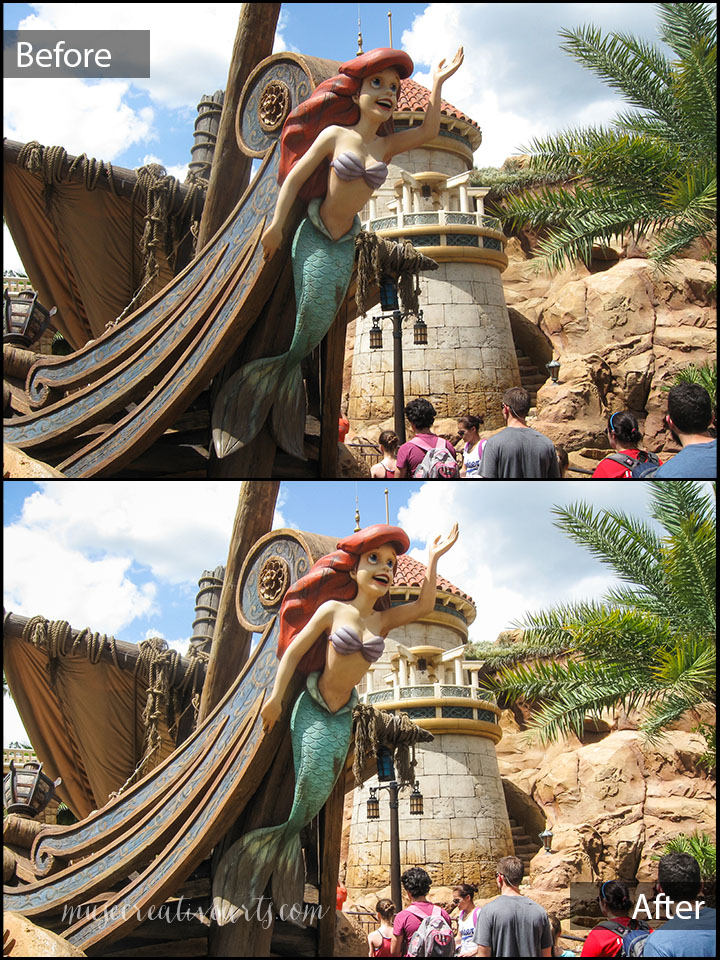
This photo was taken at about high noon in Florida in May. Need I say more? It is very bright. (Off topic, but my daughter and I had a fabulous lunch at the Be Our Guest restaurant shortly after this photo was taken).
Edits made in Lightroom:
- White balance adjustment
- Increase contrast
- Recover clipping
- Sharpening
- Vignette
With the above listed simple edits the image is much improved! Ariel’s face is not as much in shadow and the whole image appears clearer to the eye.
3. Example: Underexposed Image (Too Dark)
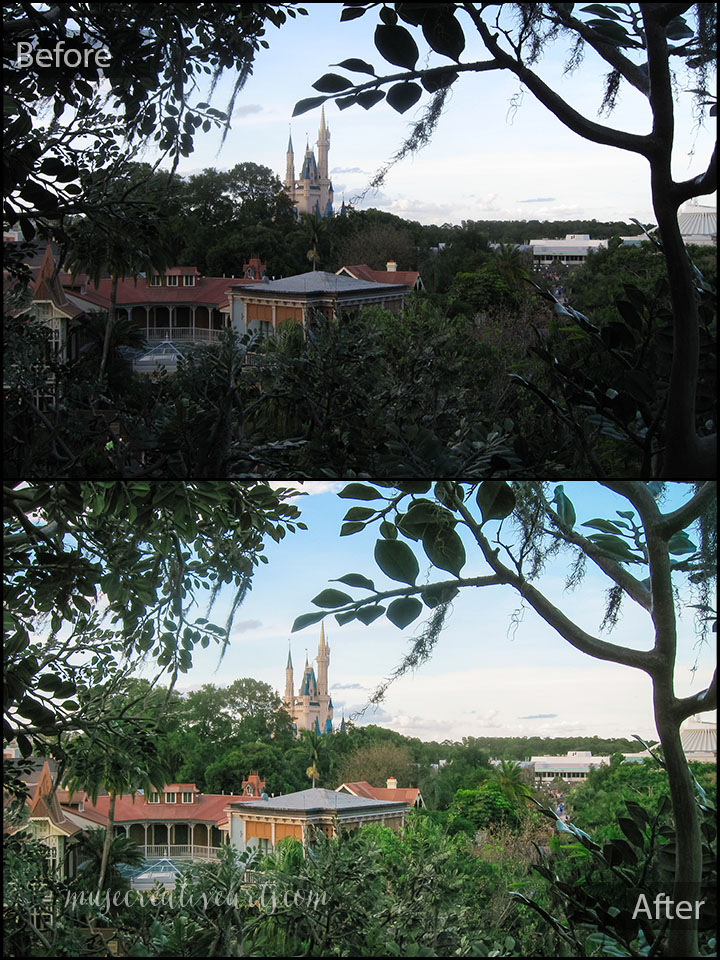
This photo was taken late in the day. The foreground is very much in shadow. It is a cool shot and I like it very much. Neat view: you can see parts of Adventureland (foreground), Cinderella Castle, and Space Mountain (far right on the horizon line).
Edits made in Lightroom:
- White balance correction
- Lighten shadows
- Add blue and green pop (enhance color)
- Add warm tones
- And light to center
The edits in Lightroom improved this photo greatly! The foreground is brighter, more colorful, and is much clearer. The castle in the background beckons! Note: I used this same photo to create a fine arts effect in another project. Please take a look!
4. Example: Underexposed Image (Too Dark)
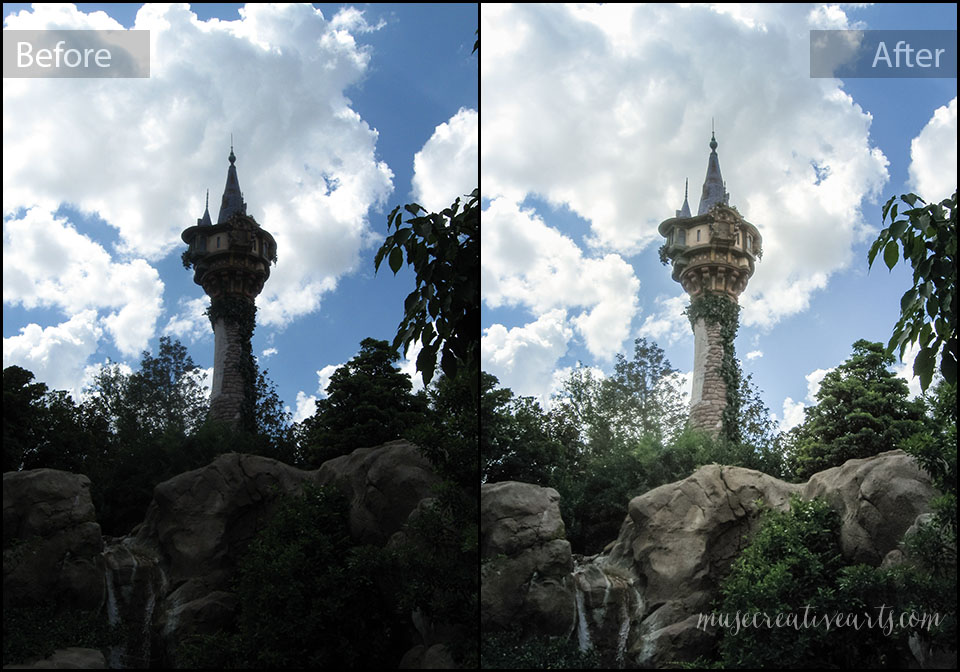
This photo was taken late in the day while visiting Fantasyland. The subject is Rapunzel’s Tower. The sky and clouds look beautiful, but the subject is very underexposed. Here the foreground is very dark and needs to be lightened to bring out the detail.
Edits made in Lightroom:
- White balance adjustment
- Increase contrast
- Lighten shadows
- Recover clipping (shadows)
- Add warm center light
With the indicated edits you can see the tower very well! The foreground is not as much in shadow and is clearer.
Isn’t Lightroom CC a powerful application for fixing/improving photographs?!