
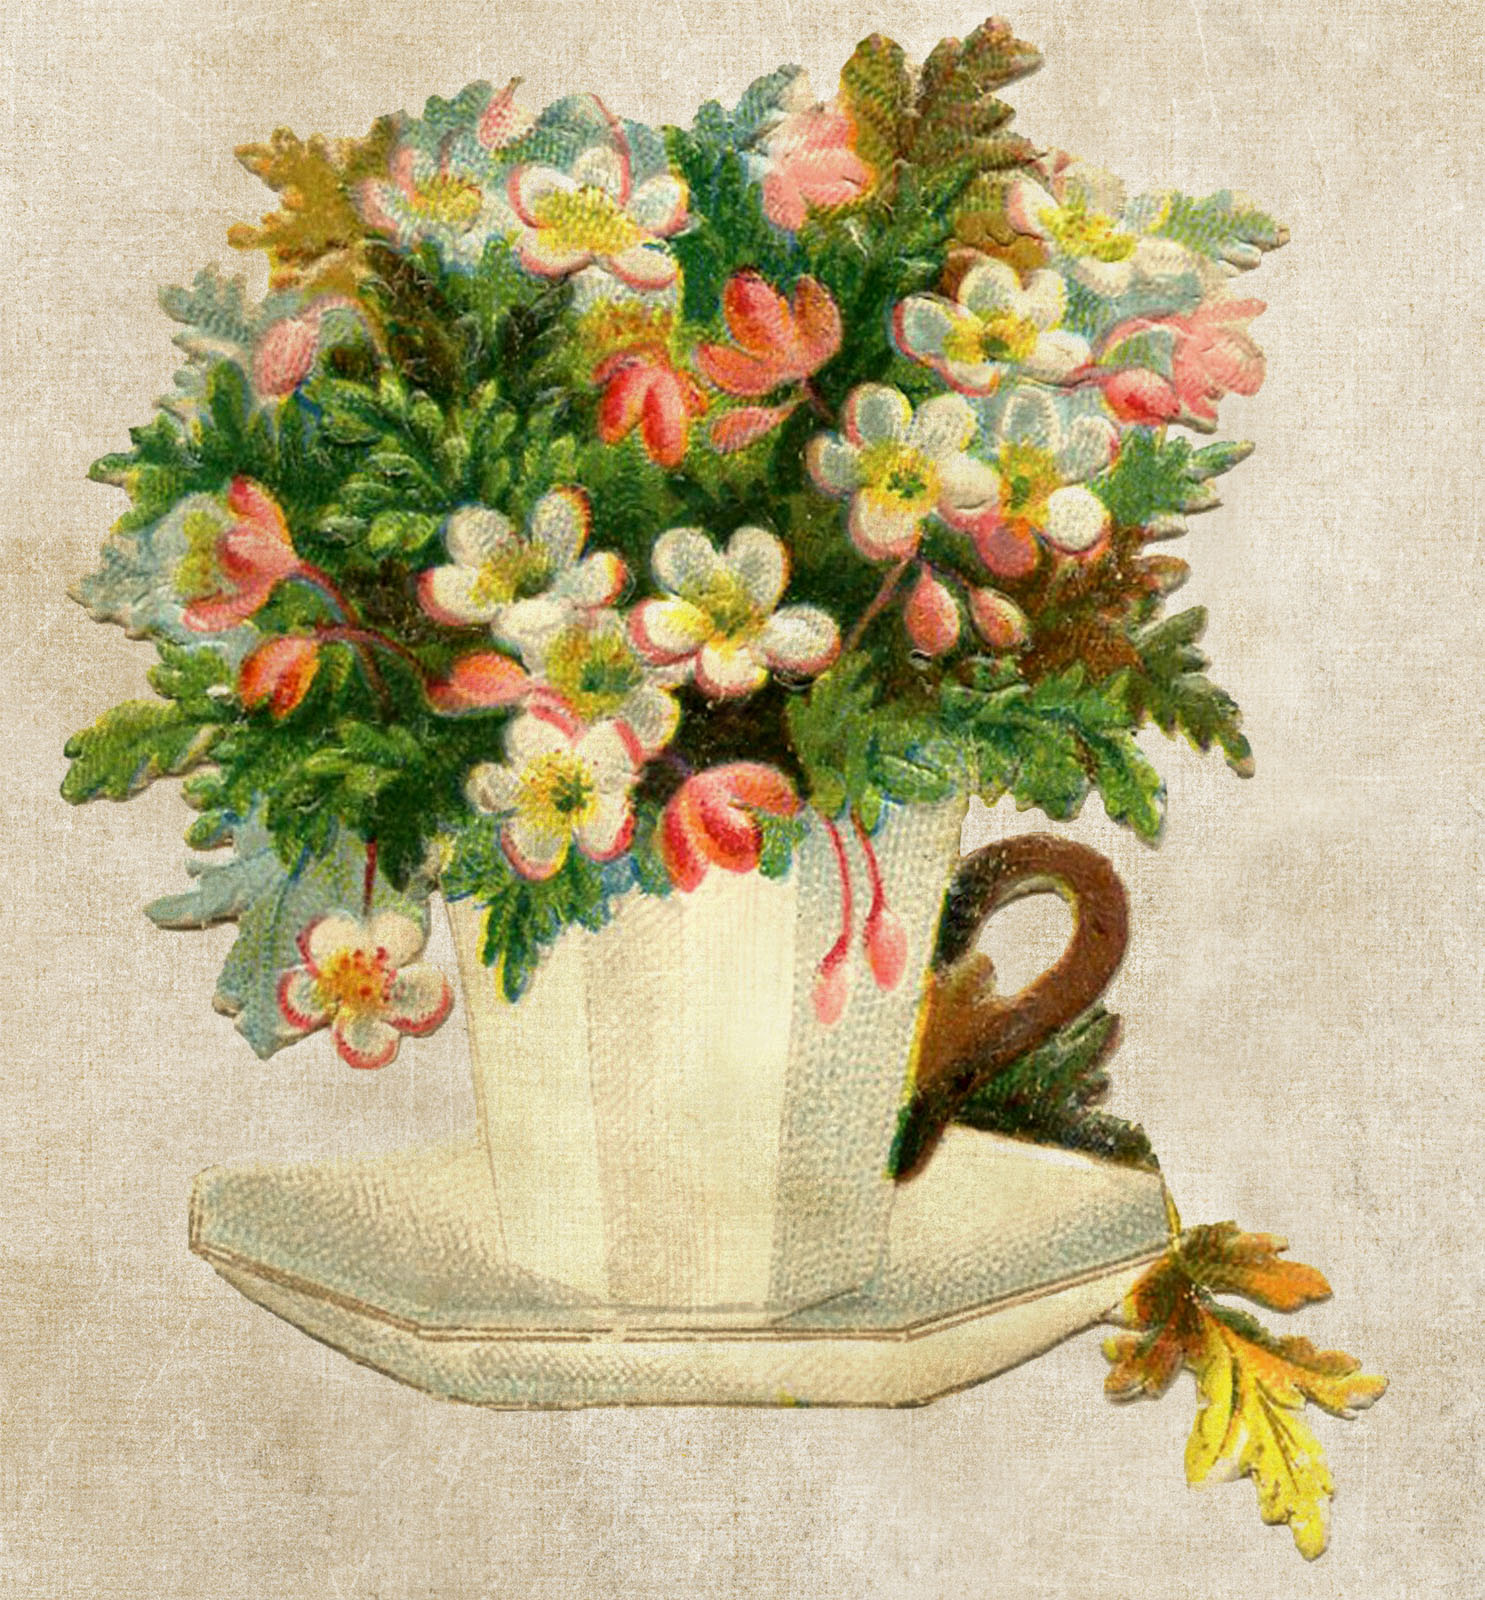
I love to collect vintage images for use in my digital artwork. Today I want to show you this pretty vintage teacup image (get it here from the Graphics Fairy) which I modified by adding a texture and other embellishments (resource links below).
The original vintage image has a white background which seemed too plain. So I decided to add a texture. In this case I chose a free texture by Kim Klassen. Visit her blog here to view her lovely textures, both free and paid. You can sign up for her email list and receive updates, information about classes, tutorials, and more.
In order to add the texture I followed the same process as described in a tutorial from FrenchKissTextures.com (link below). [I happened to select this particular tutorial for this example, but there are many other tutorials about photography and textures available online.] The basic steps are to add the texture as a new layer, change the blend mode to Multiply (or whatever works best with the image), and add a mask to paint out the texture so that the teacup shows through clearly. I use Adobe Photoshop CC, but these steps should work in earlier PS versions or Photoshop Elements.
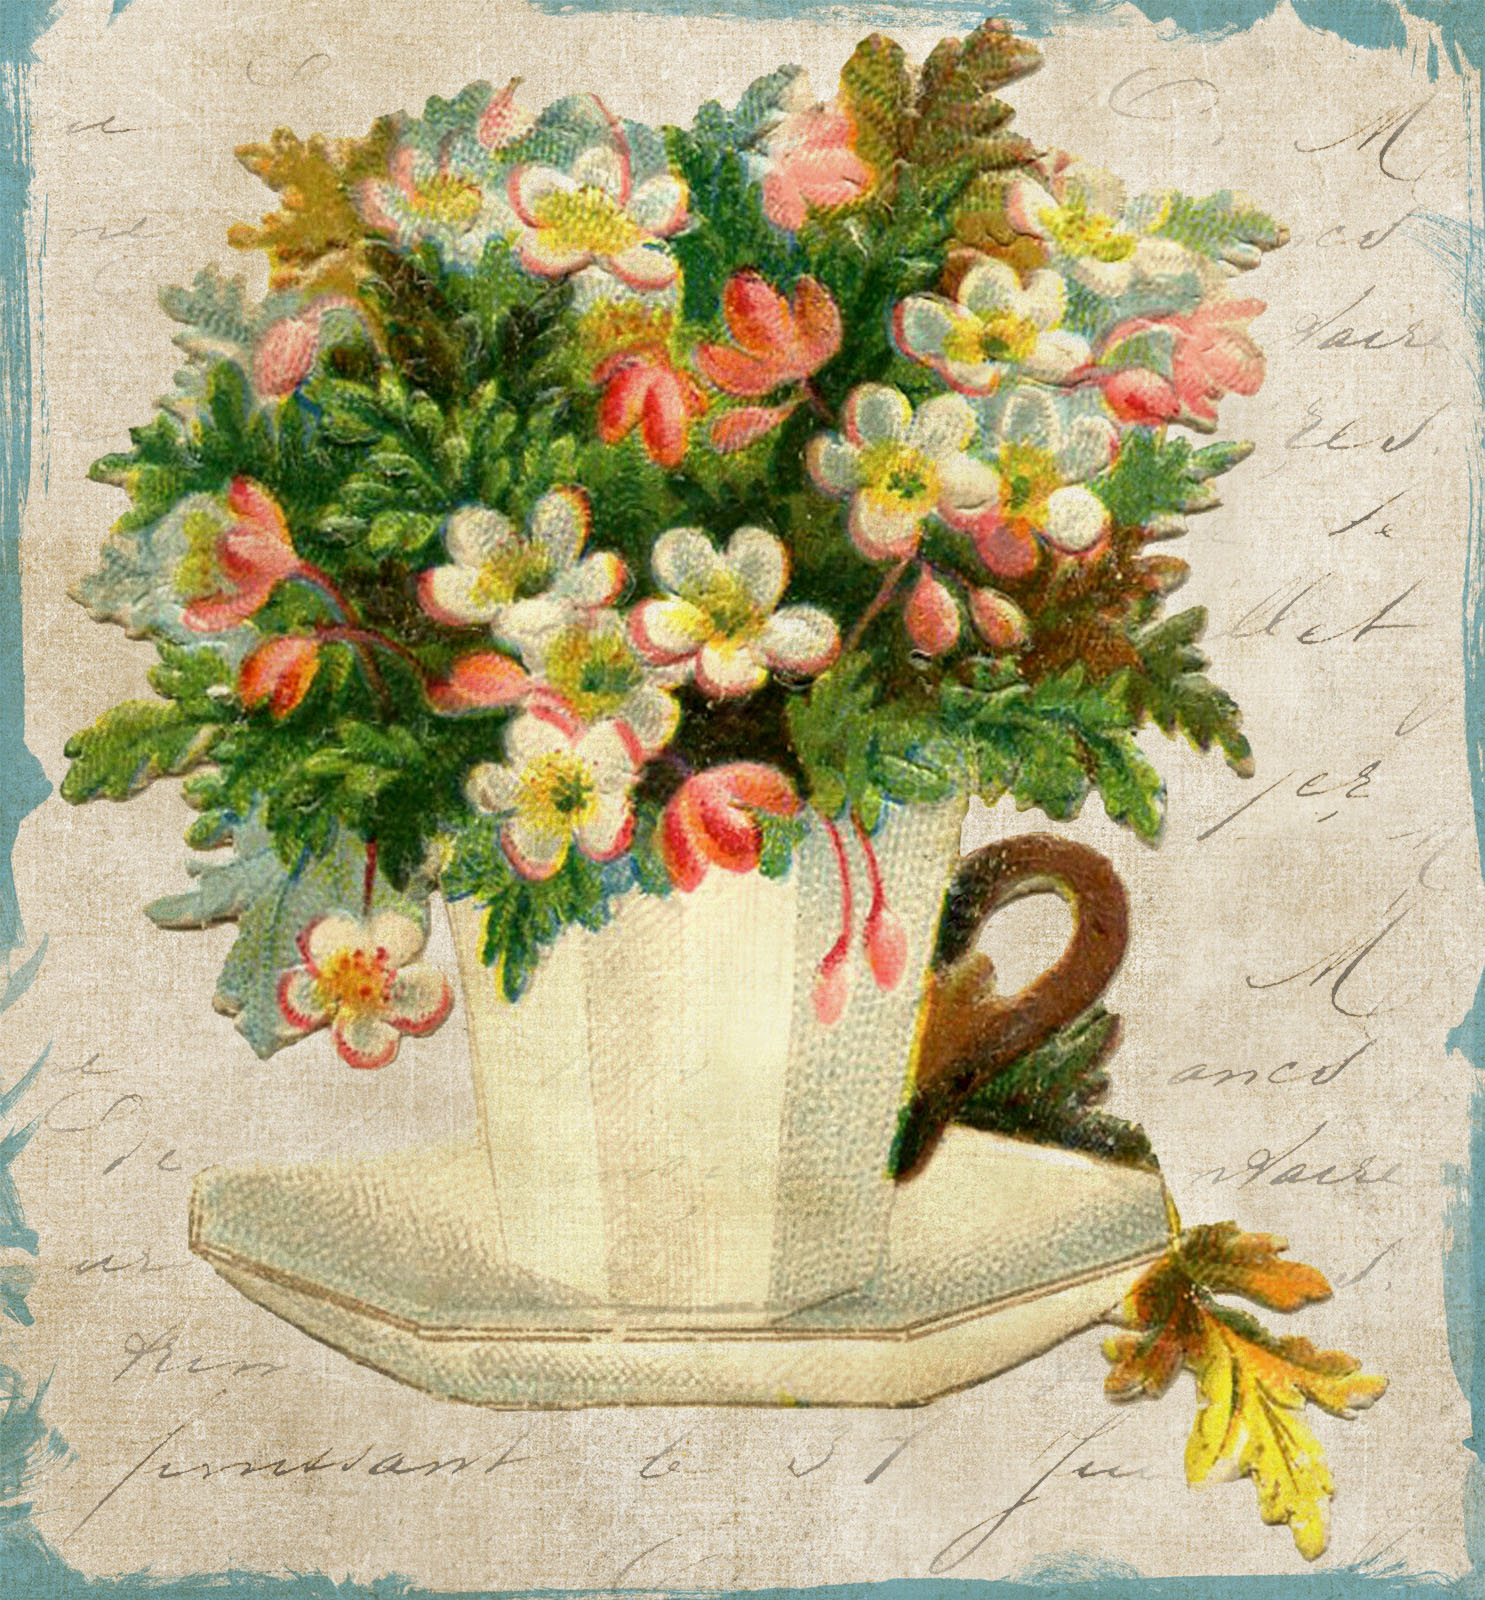
With the texture added (see above), the image looked better but still needed more visual interest. The area surrounding the teacup needed some detail so I added the french handwriting transfer as a new layer. The writing looked too strong over the teacup itself, so I added a white mask. Using a soft round brush (foreground color set to black) I painted out the areas where I didn’t want the writing to show through too much. Lastly I set the blend mode to Color Burn, and lowered the opacity to 55%.
To finish things off I added the frame overlay as a new layer. Then I needed to change the color of the overlay. Using the eyedropper tool I selected a blue color from the image, darkened it a bit, and then added a new layer. I filled the new layer with the blue color, and clipped the color layer to the overlay layer. Lastly I set the blend mode to Multiply and changed the opacity to 60%.
Voilà, a textured and embellished vintage image! It is really fun to modify vintage images in this manner. You can use all types of mixed digital media, such as ephemera, labels, clip art, textures, objects, collage sheets, tags, word art, masks, overlays, templates, etc. There are so many possibilities!
TUTORIAL LINKS:
- Quick Start Texture Tutorial from FrenchKissTextures.com (this tutorial is for adding texture to a photo but the process is the same for an image)
- Why I Prefer White Backgrounds To Cut Outs On Digital Illustrations, also from FrenchKissTextures.com (more detailed explanation about working with vintage images with white backgrounds)
RESOURCES:
- Teacup Image from the Graphics Fairy
- French Handwriting Transfer from the Graphics Fairy
- Texture (kk_pinit10) by Kim Klassen
- Frame Overlay from PixelScrapper.com